Cooking 101: How to Fry an Egg
Few foods are as simple and satisfying as a flawlessly cooked fried egg. However, the process requires a certain amount of finesse, and this guide should provide the tips needed for the spot-on execution of a breakfast icon – which also plays well with lunch and dinner items. Slide one on top of a cheeseburger, a Caesar salad, a bowl of Texas red chili or a few hundred other options for an extra dimension of rich, runny golden deliciousness. In addition, teens can gain easy-peasy cooking experience – and a feeling of empowerment – by trading after-school junk snacks for a quick, hot, and comforting fried egg on toast. A modest calorie count, along with high-quality protein and a slew of vitamins and minerals, make this shell-encased everyday delicacy a powerhouse snack.
Heading into a home kitchen for an exclusive Lehigh Valley Marketplace demonstration, Beth Raynock, chef/owner of Local Mama Catering, offers pointers for stepping up your fried egg game:
Room temperature eggs fry more evenly.
Taking them from the fridge 1 to 3 hours beforehand better ensures that the yolk will remain runny while the whites finish cooking.
Local organic eggs from pasture-raised chickens deliver a nutritional edge,
typically offering twice the vitamins A and E and half the cholesterol of commercial eggs. In addition, the yolks are larger, more deeply colored, and way more flavorful.
Fresh eggs have stronger proteins that will result in a tidier, better-rounded shape: the fresher, the better.
Hard-boiling is best for older eggs because they’re easier to peel.
UpgradE salt and pepper to items such as pink Himalayan sea salt or Maldon sea salt flakes and freshly ground high-quality peppercorns.
These long-lasting modest investments will enhance the fried egg’s taste and texture, along with almost anything you cook.
While butter is the classic choice for frying eggs, dairy-averse cooks can substitute olive oil or avocado oil.
Bacon grease – which you should always save and refrigerate – will tantalize omnivore palates.
Get cracking the right way
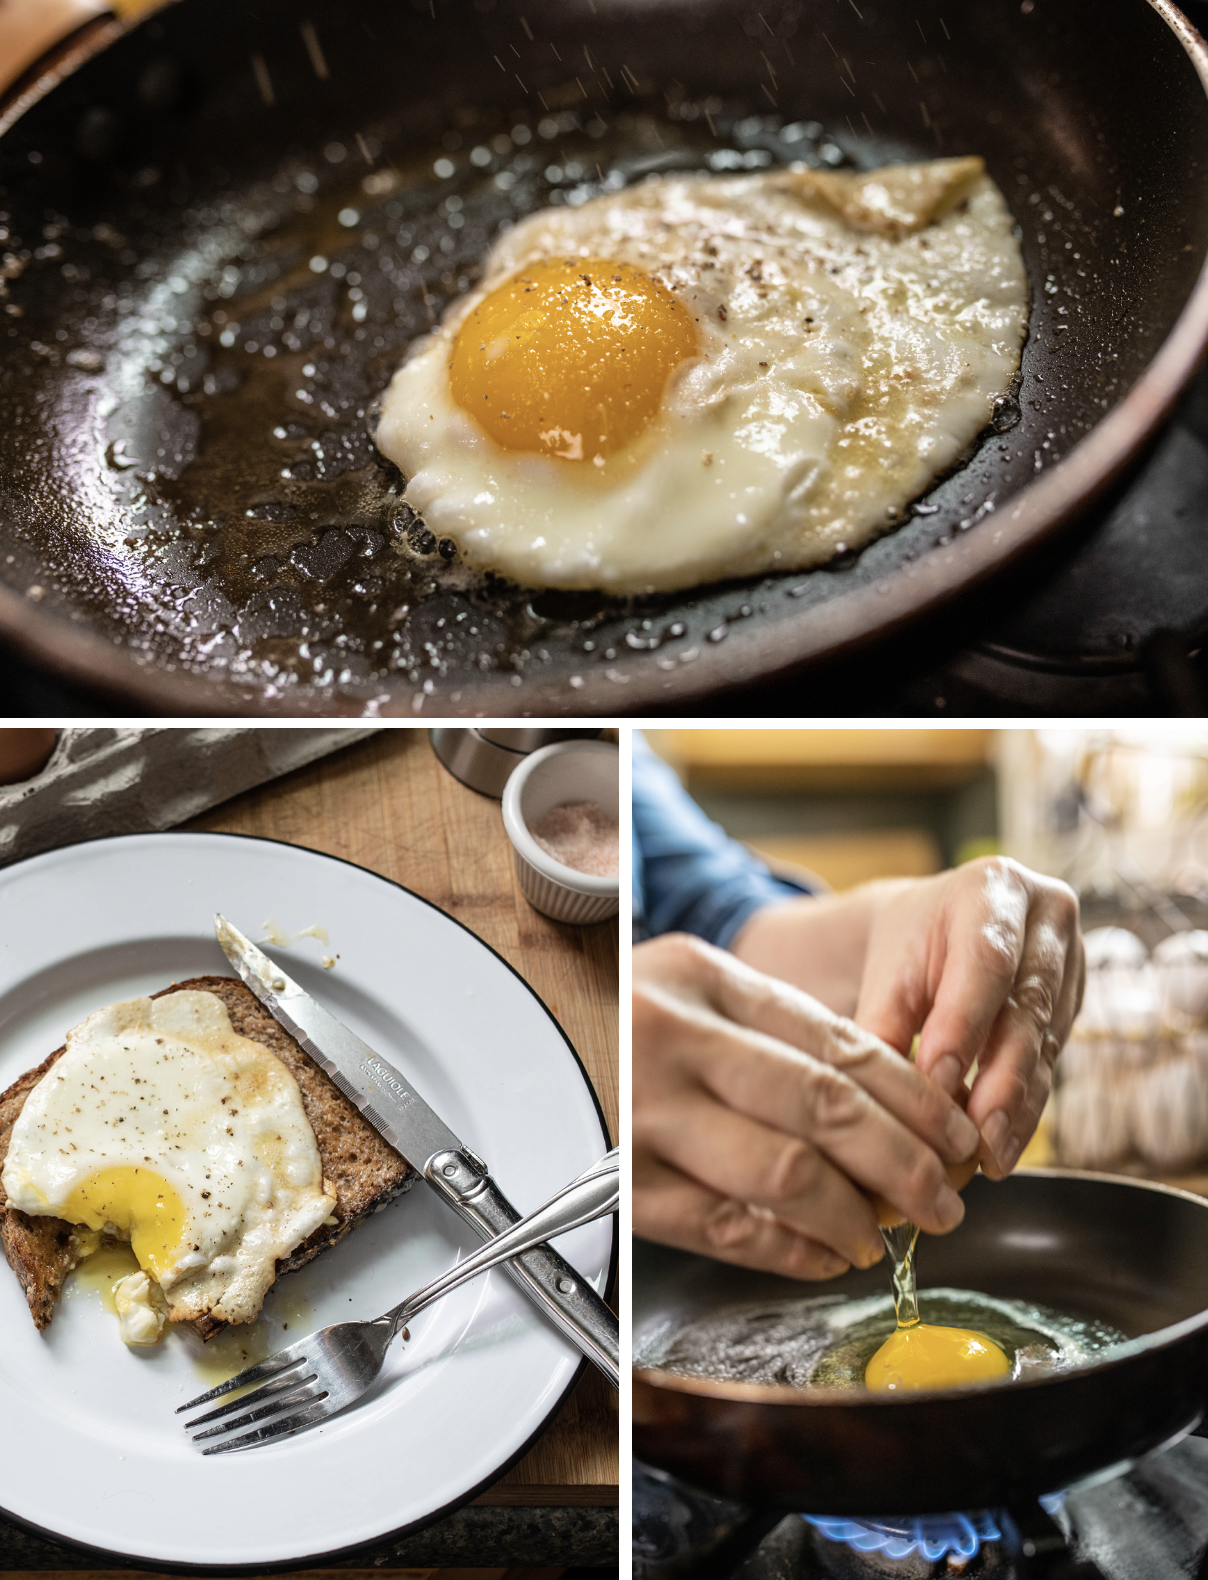
Never crack eggs on the edge of a bowl or frying pan since this increases the likelihood of breaking the yolk and often results in having to pick out small pieces of shattered shells. Instead, hold the egg lengthwise and give it single firm rap (not a angry, crushing blow) along the equator – where the shell is thinnest – on a clean countertop. At your preference, place a paper towel on the counter. Lift the egg, find the flattened section and use your thumbs to gently pull the eggshell halves apart. Drop the contents into a ramekin or similar small bowl – though once you’ve acquired skill and confidence, drop the egg directly in the pan.
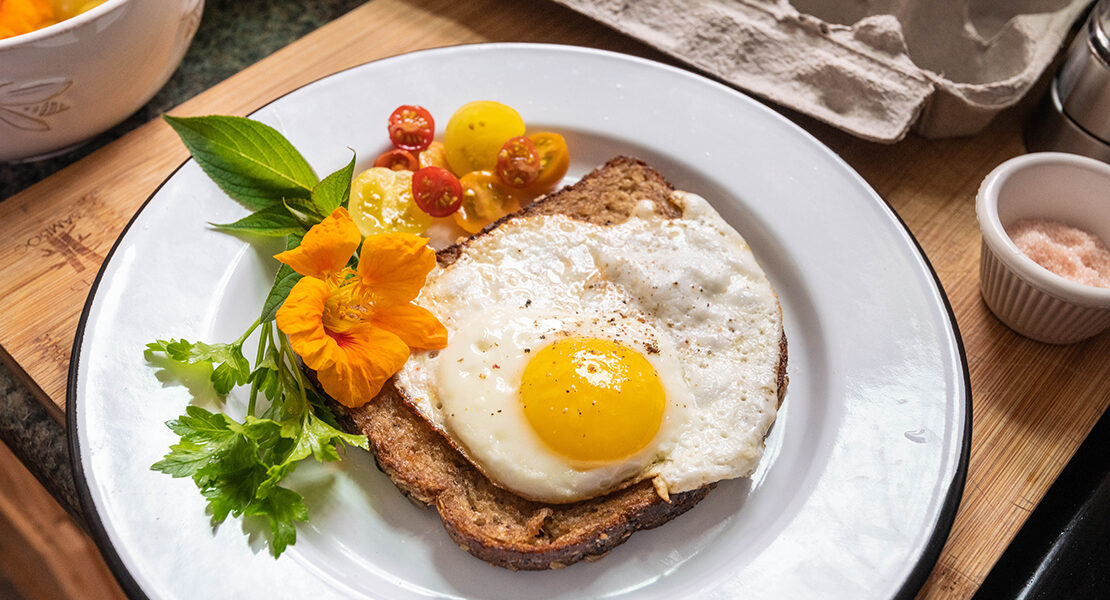
 Sunny-side up egg

INGREDIENTS
1 tsp. butter (or substitute of choice)
1 large fresh egg
Salt and pepper to taste
DIRECTIONS
Heat an 8-inch nonstick pan over medium heat (a cheap pan is fine, and this size is also suitable for cooking 2 eggs). Add butter or substitute and swirl or brush to coat surface. When hot, slide the egg from the ramekin into the pan. (A well-heated surface is essential for even cooking and to prevent sticking.) Cook for about 3 minutes, until whites are set.
(The whites surrounding the yolk should change from translucent to opaque.)
Note: Do not shake pan or prod the edges of the egg: Leave it alone! Slide onto plate or slice of toast and season as desired with salt and pepper.
Over-easy: Firmer yolk fans can slide a thin spatula under the egg, flip, and continue cooking for 10 to 30 seconds to taste before removing from pan.
Serves 1